
Quick start on deploying your Dash application using Heroku on a custom domain
Platform as a service (Paas) and authentication platforms are making application deployments easier than before. Rather than shipping your python Dash application as packages and running it locally, we show a quick start guide on how to deploy Dash applications using Heroku onto a custom domain.
Setting up Heroku
First set up a free Heroku account and download the CLI tool. In the local terminal, login via the following command,
heroku login
Setting up local Dash application
On our local machine, we can create a simple Dash application, containing the following files,
.gitignore
app.py
Procfile
requirements.txt
runtime.txt
This is based on the tutorials on Dash deployment, so please refer to the documentation there for the file contents in this simple example. The only addition is runtime.txt - this file contains a single line with the text python-3.7.12. This instructs Heroku to use the specified python version to use for the app — this can be other values, and see Heroku supported python runtimes. Otherwise by default it will use a latest version (at time of writing, python-3.9.9). If this is not specified, this can cause compatibility issues if the venv created and tested locally is using one version and the runtime of the app is using another.
The requirements.txt file is created with pip freeze. See below,
Set up python virtual environment
pip install dash plotly gunicorn
virtualenv venv --python=python3.7
pip freeze > requirements.txt
Deploying application
Deploying the application to Heroku is as simple as making git commits and pushing the commits onto the remote repository (below uses a Heroku remote repository).
To set up the Heroku app for the first time, we will create a unique name for the app. The heroku create [name] effectively creates a new Heroku app and does a git remote add to connect the Heroku remote repository to the local git repository.
heroku create testapp  # testapp is a unique name of app
git add .
git commit -m "initial commit"
git push heroku master
To update the code and re-deploy, we can simply commit the new changes and push to the Heroku remote repository. This will automatically trigger a fresh build and deployment.
git add .
git commit -m "new changes"
git push keroku master
If you have already created the app before, you can manually connect the remote Heroku repository with heroku git:remote -a [name of app].
Setting up authentication
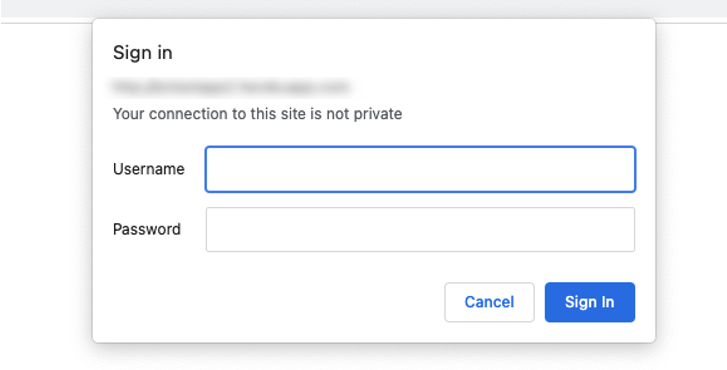
We can also set up authentication to our app. The quickest way is to do this natively in the app. Check out Dash authentication for a way to do this through Basic Auth. This in short involves pip install dash-auth and adding in the extra BasicAuth to app. See the authentication documentation from Dash for the full details.
auth = dash_auth.BasicAuth(
         app,
         VALID_USERNAME_PASSWORD_PAIRS
)
With this, when we visit the app, we will be presented with the following screen requesting for login,
Alternatively, you can use Auth0. This can be installed as add-ons. More info can be found in the Auth0 article on Heroku.
Adding custom subdomain
So far the application is hosted at testapp.heroku.com. We can instead easily link this to our own custom domain. First we need a domain provider (such as Google Domains) — make sure you choose a provider where you can edit the DNS records.
In Heroku, go to the dashboard for the app, and under Settings, scroll down to Domains and click on Add domain. We enter in the domain name (e.g. customdomain.com; or we can also do subdomains, testapp.customdomain.com). After addition, we see the following,
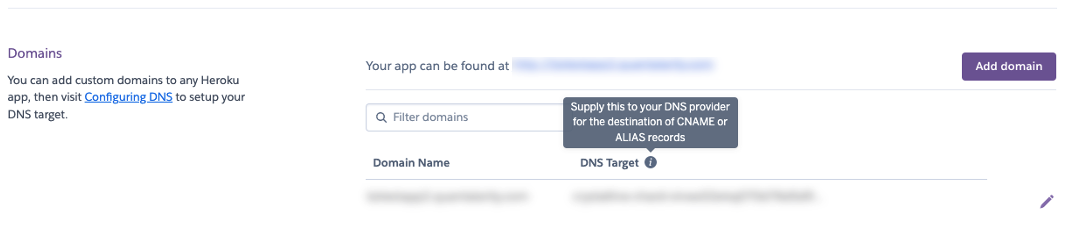
Take note of the DNS target value, and now go to the DNS provider to create a new CNAME record, with the record routing to the DNS target. Below is an example for creating a testapp subdomain.

And with this, we have our Dash up and running on our custom domain!
Leave a comment